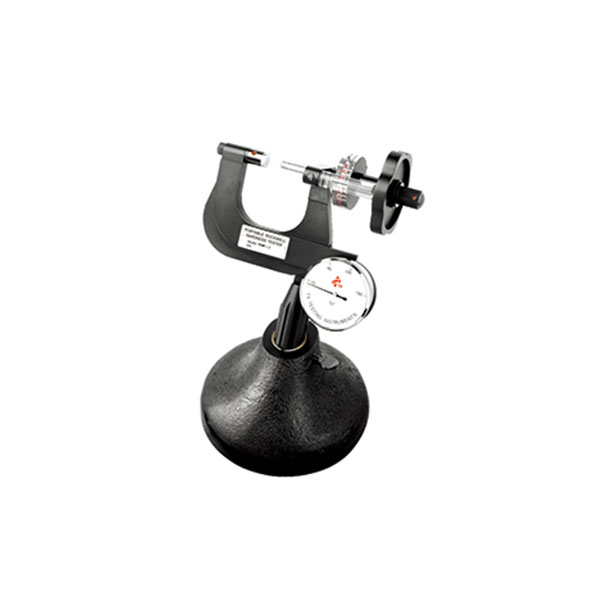
Portable Hardness Tester Precautions
Portable hardness tester is increasingly widely used because of its small size, light weight, easy to carry, a wide range of detection, easy to operate, high detection speed and so on. What’s more, portable hardness tester can be converted into a variety of hardness values and can be used in any location.
First, the factors that affect the accuracy of the test
① Pretreatment of specimen. In order to eliminate the test error caused by surface roughness, the test surface of the specimen must be exposed to metallic luster with smooth surface. The surface roughness Ra value should reach 2um (equivalent to the original national standard ▽ 6), otherwise the test value is not accurate.
② The measured surface should be clean without oil, otherwise the test value is not accurate.
③ Surface workpiece testing. The the test specimen whose curvature radius R is less than 30mm should use small support ring in the test, or the test value is not accurate.
④ The test support of small test pieces. The specimen which is heavier than 5kg do not need to support. The specimen less than 5kg generally should not be applied because the impact will lead to movement of the specimen and test result is also not accurate. The following measures are required if you want to use it: support the specimen with an object heavier than 5 kg; the coupling surface of the specimen and the support object must be smooth and tight; less coupling agent can be used between the coupling planes; the test direction must be perpendicular to the coupling plane.
⑤ The thickness of the specimen should be less than 5mm. When the specimen is a large area plate, it should be reinforced or supported on the back of the test point. Otherwise, even if the thickness is large, the test value may not be precise due to the deformation of the specimen.
⑥ The test piece itself should not be magnetized, otherwise the test value is not precise.
Second, the test operation requirements
① Test point selection: two test points spacing should be> 3mm.
② Placement: The impactor support ring is pressed against the measured surface.
③ The workpiece, the impact device and the operator body should be in a stable state while pressing the impact device release button.
Third, the working environment temperature:
-10 ° C to + 55 ° C.
Fourth, calibration:
It is a good idea to verify the instrument by using a standard block before testing.

Five, numerical processing:
Test results should take the average of 3 to 5 times or more tests. A large error data that deviates from the normal range can be deleted.
Six, test:
It should be test at least once a year, and it can be used continually as long as it is qualified.
TX is the abbreviation of Tianxing. TX Testing Instruments is a professional manufacturer of portable hardness testers, founded in 1993, with 5.6 million registered capital and a self-built factory occupied 4,600.