The Difference And Conversion Of Rockwell Hardness, Brinell Hardness And Other Hardness (2)
HR-Rockwell hardness
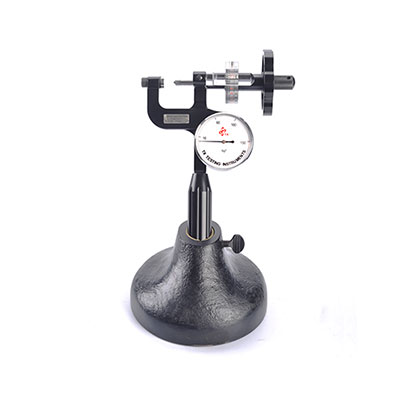
Rockwell hardness (HR) depend on the indentation plastic deformation depth to determine the hardness value of the index with 0.002 mm as a unit of hardness. When HB> 450 or the sample is too small, Portable Rockwell hardness tester is suitable to use rather than Brinell hardness tester. It press a vertex angle of 120 ° diamond cone or diameter of 1.588, 3.175mm carbide ball into the surface of the measured material with a certain test force. And according to the depth of the indentation to calculate the hardness of the material. According to the hardness of the test material, there are three different scales:
HRA: It is suitable for high hardness materials (such as cemented carbide, etc.). The hardness is obtained according to the 60kgf test force and diamond indenter,
HRB: It is suitable for low hardness materials (such as annealing steel, cast iron, etc.). The hardness is obtained by 100kgf test force and diameter 1.588mm carbide ball.
HRC: It is suitable for high hardness materials (such as hardened steel, etc.). According to the 150kgf test force and diamond indenter to calculate hardness.

In addition:
(1) HRC is the Rockwell hardness C scale.
(2) HRC and HB is widely used in the production industry.
(3) HRC is suitable for HRC 20-88, equivalent to HB225-650
Rockwell hardness A scale is useful if the hardness is higher than this range. If the hardness is below this range, you can use the Rockwell Hardness B scale HRB. The hardness value of Brinell hardness tester can not be higher than HB650.
(4) The indenter of Rockwell hardness tester C gauge is diamond indenter with the vertex angle of 120 degrees, the test force is a certain value, and the Chinese standard is 150 kg force.
The indenter of Brinell hardness tester is the hardened steel ball (HBS) or carbide ball (HBW), the test force varies with the diameter of ball from 3000 to 31.25 kg force.
(5) Rockwell hardness indentation is small. As the measured value has locality, more points need to be measured to find the average. It is attributed to a class of non-destructive testing for finished products and flakes.
Brinell hardness indentation is large with standard measured value. Generally, it do not belong to the class of non-destructive testing and not suitable for finished products and flakes.
(6) The hardness value of Rockwell hardness tester is an unknown number without unit. (So it is customary to say that the degree of hardness is not correct.)
The hardness value of Brinell hardness tester has an unit, and it has a certain approximate relationship with the tensile strength.
(7) Rockwell hardness display directly on the dial or it can also be digital display. It is suitable for mass production with the advantages of simple operation, fast and intuitive.
Brinell hardness tester need to use a microscope to measure the indentation diameter, and then look up the table or calculation. Its operation is more cumbersome.
(8) Under certain conditions, HB and HRC can look-up table and swap. The conversion formula can be roughly recorded as: 1HRC ≈ 1 / 10HB.